Adapting an old Voigtländer lens on e-Mount
Prologue
Soon after I started photographing in 2016 I noticed some realy cool features of mirror-less cameras. One of the coolest is focus-peaking. In manual focus mode the camera tells you which parts of your current section is sharp. This is extremely useful when using old manual lenses. So I was experimenting with manual lenses like the Porst 28mm Macro lens. Some are very cheap to get on ebay, but still are very useful on dslm cameras.
After I bought a A7 I didn’t want to buy a expensive 50mm lens afterwards. A friend already had some 50mm manual lenses which he used on an A7 and sold me one of them. A Minolta Rokkor MD 50mm F1.7. This is an very good lens and I like to take pictures with it. But this is another story…
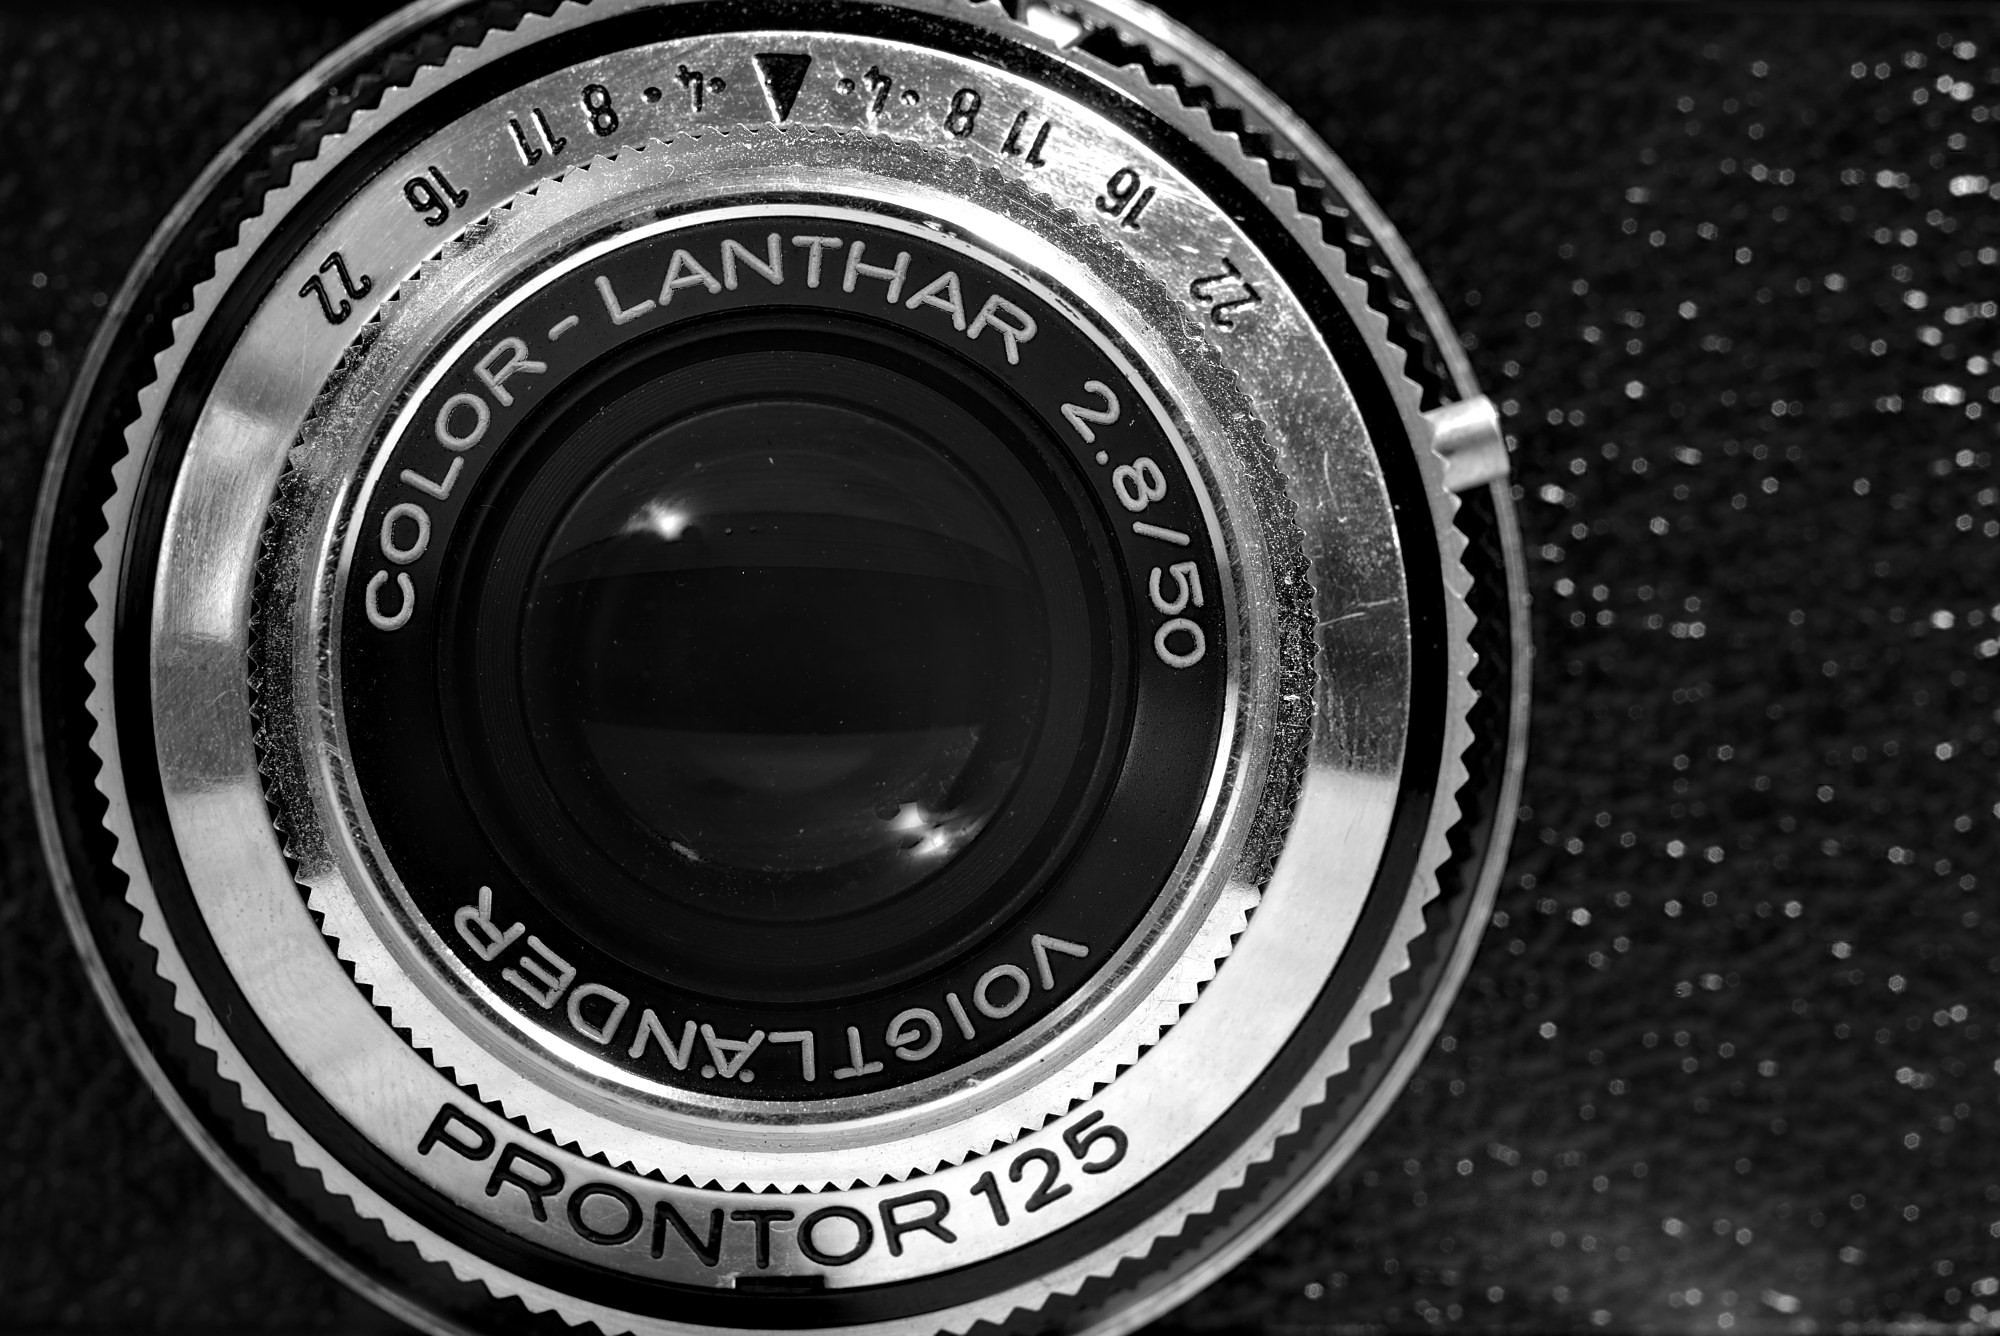
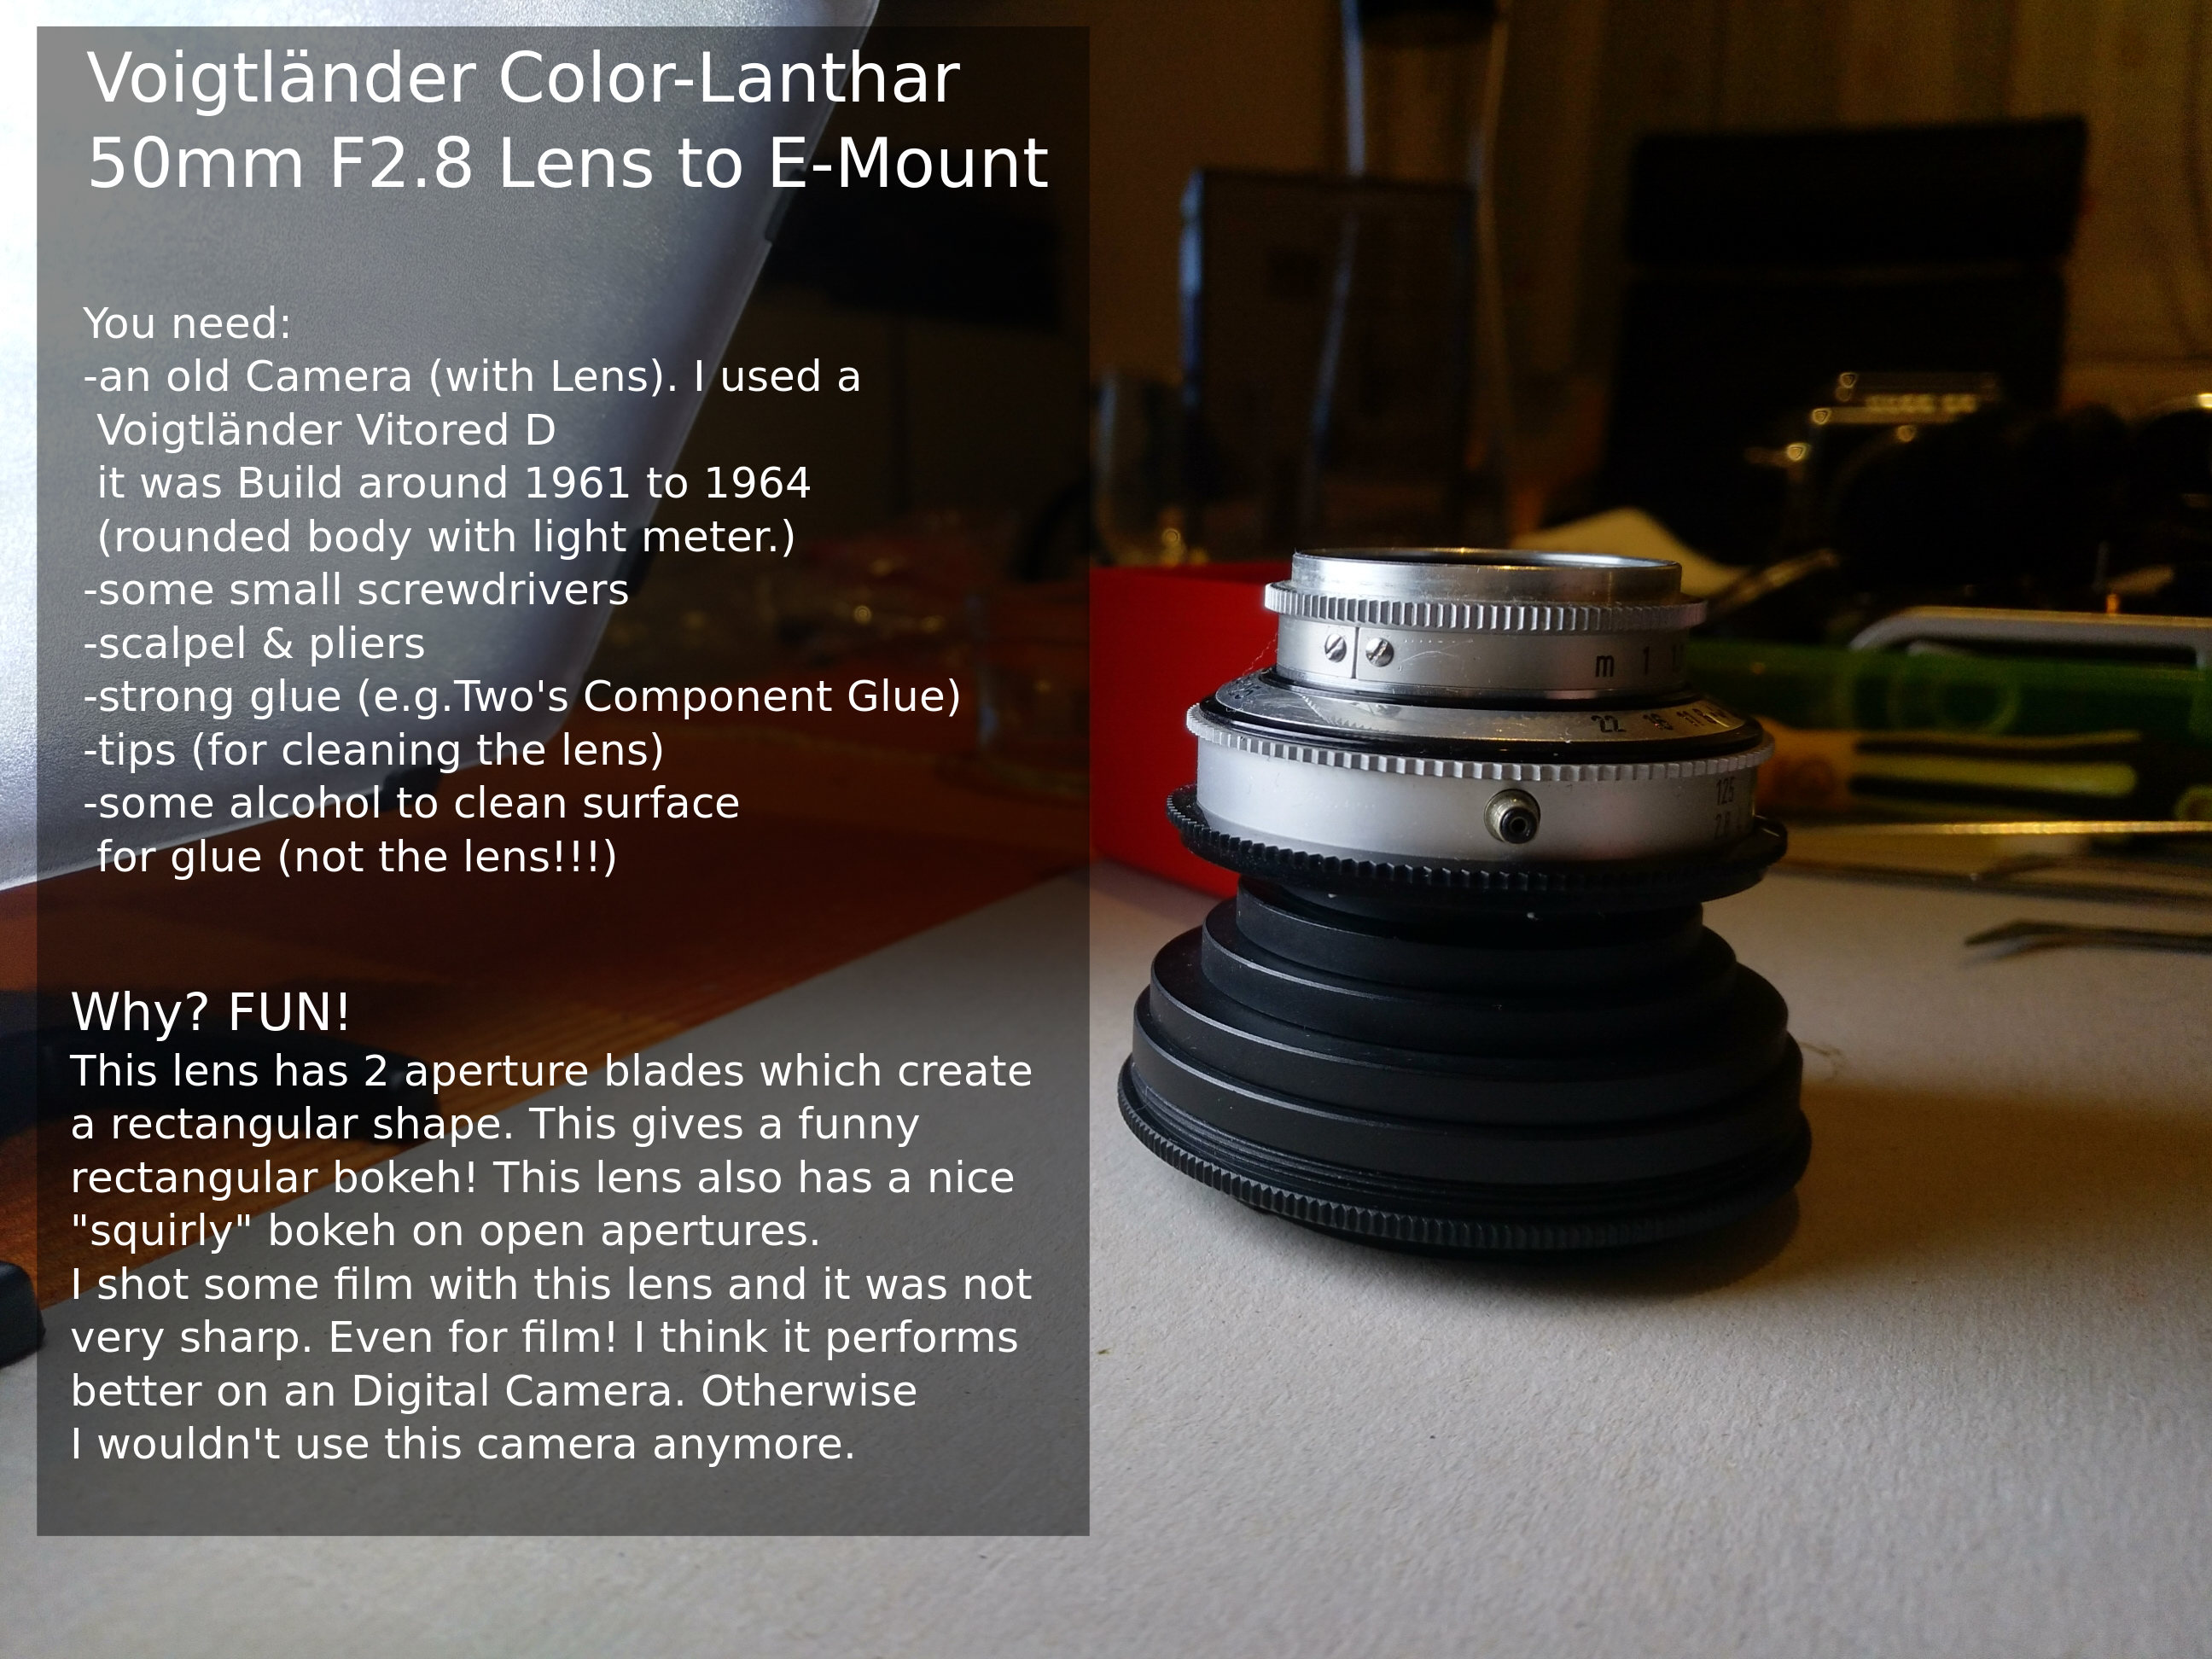
In 2018 I started shooting with film. One day my father gave me a old Voigtländer Vitored D which had a Color-Lanthar F/2.8 50mm lens. I shooted some black & white films which haven’t had a very good quality with this lens & camera. Also I planned to get a good manual 35mm analog camera in addition to the Kiev 88. So I had no use for the Vitored anymore.
One day I found a blog called “lensbubbles” which leads me to the idea to adopt this Vitored lens on my A7. I noticed that the Vitored lens had a aperture blades in a rectangular shape. This should give some nice bokeh with rectangular spots. So I started adopting the lens…
Work
I had no plan if this all would work, so I started to disassamble the Vitored and get the lens out. Fortunatelly, this was very easy :). Once I got to the lens, I had to be carefully.
I removed all screws of the cap and removed the cap. I think there is no need to remove everything from the camera. I just needed to know where to cut the leather.
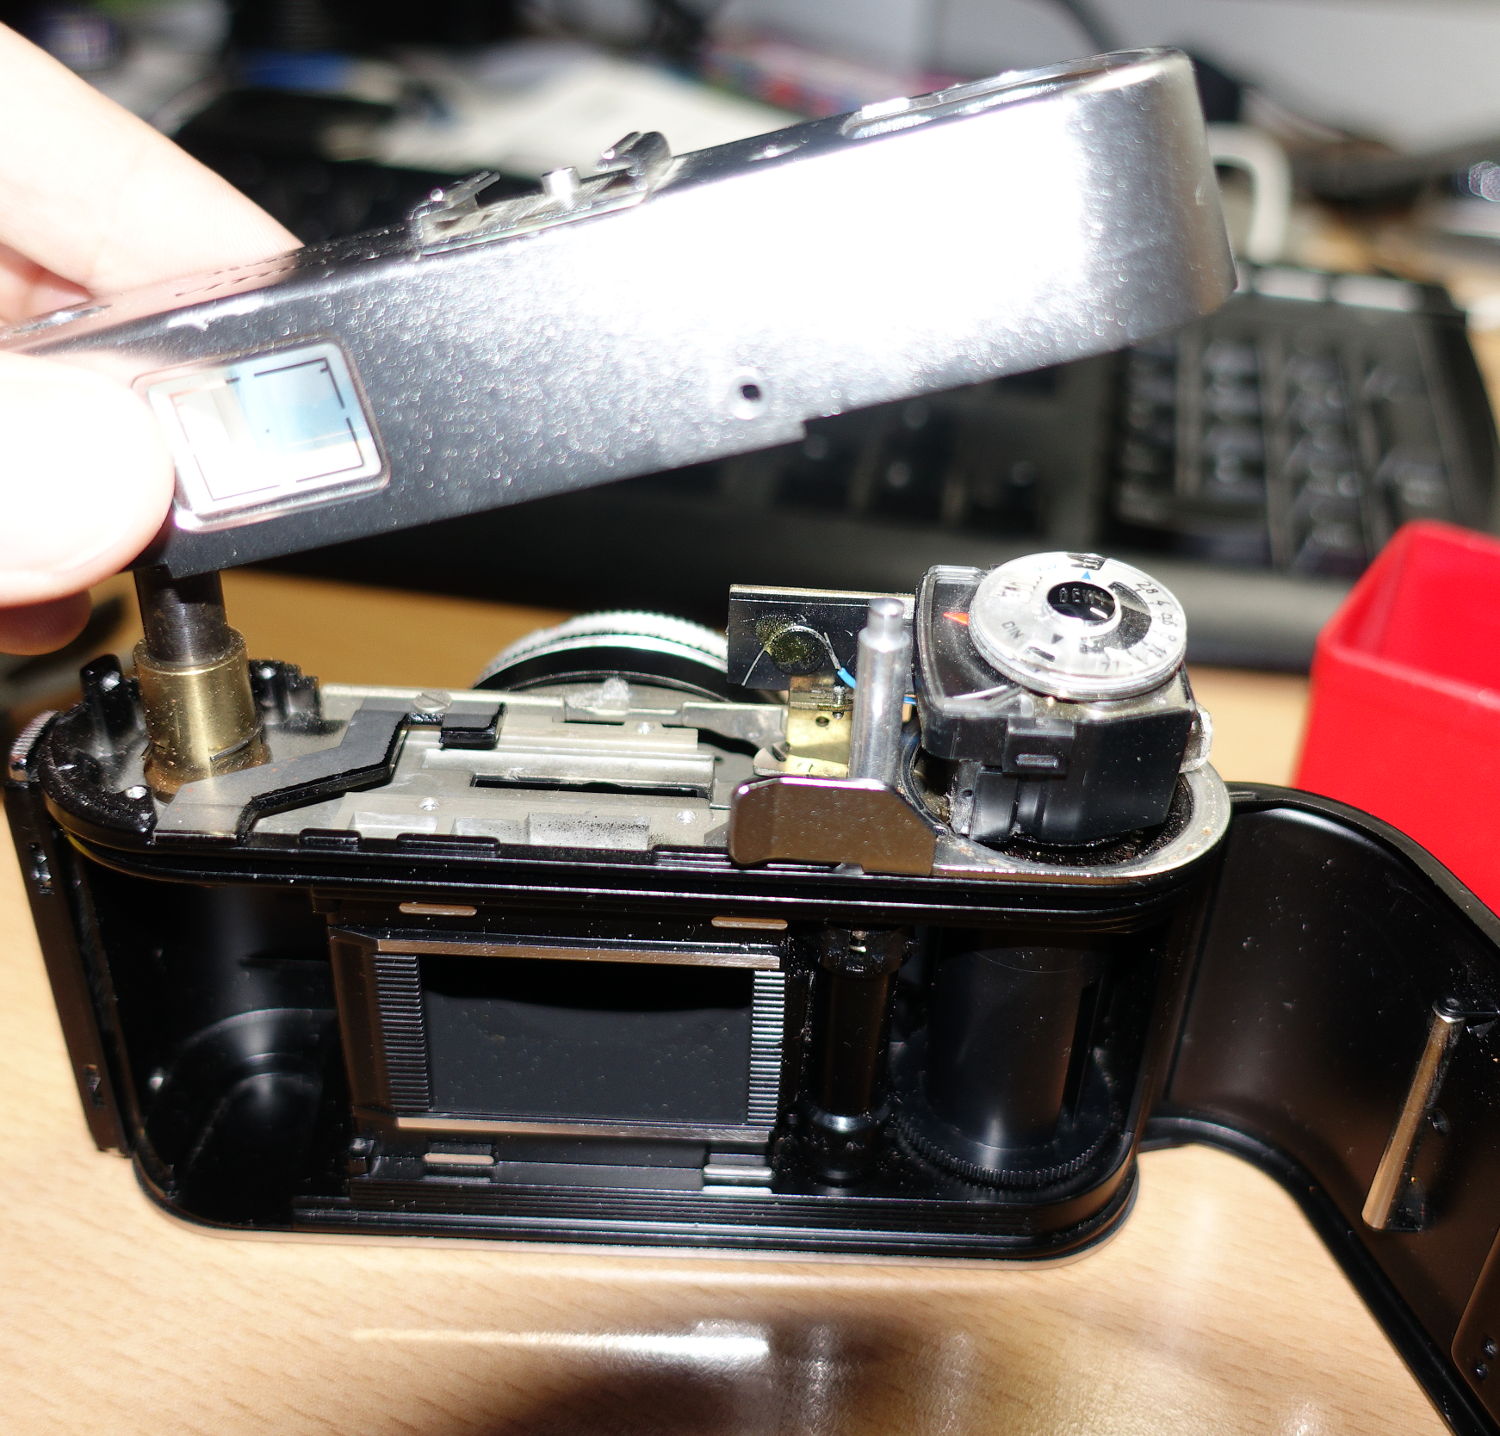
Inside the camera I saw the plate which holds the lens. So I needed to cut through the leather and remove it. Under it some screws appear.
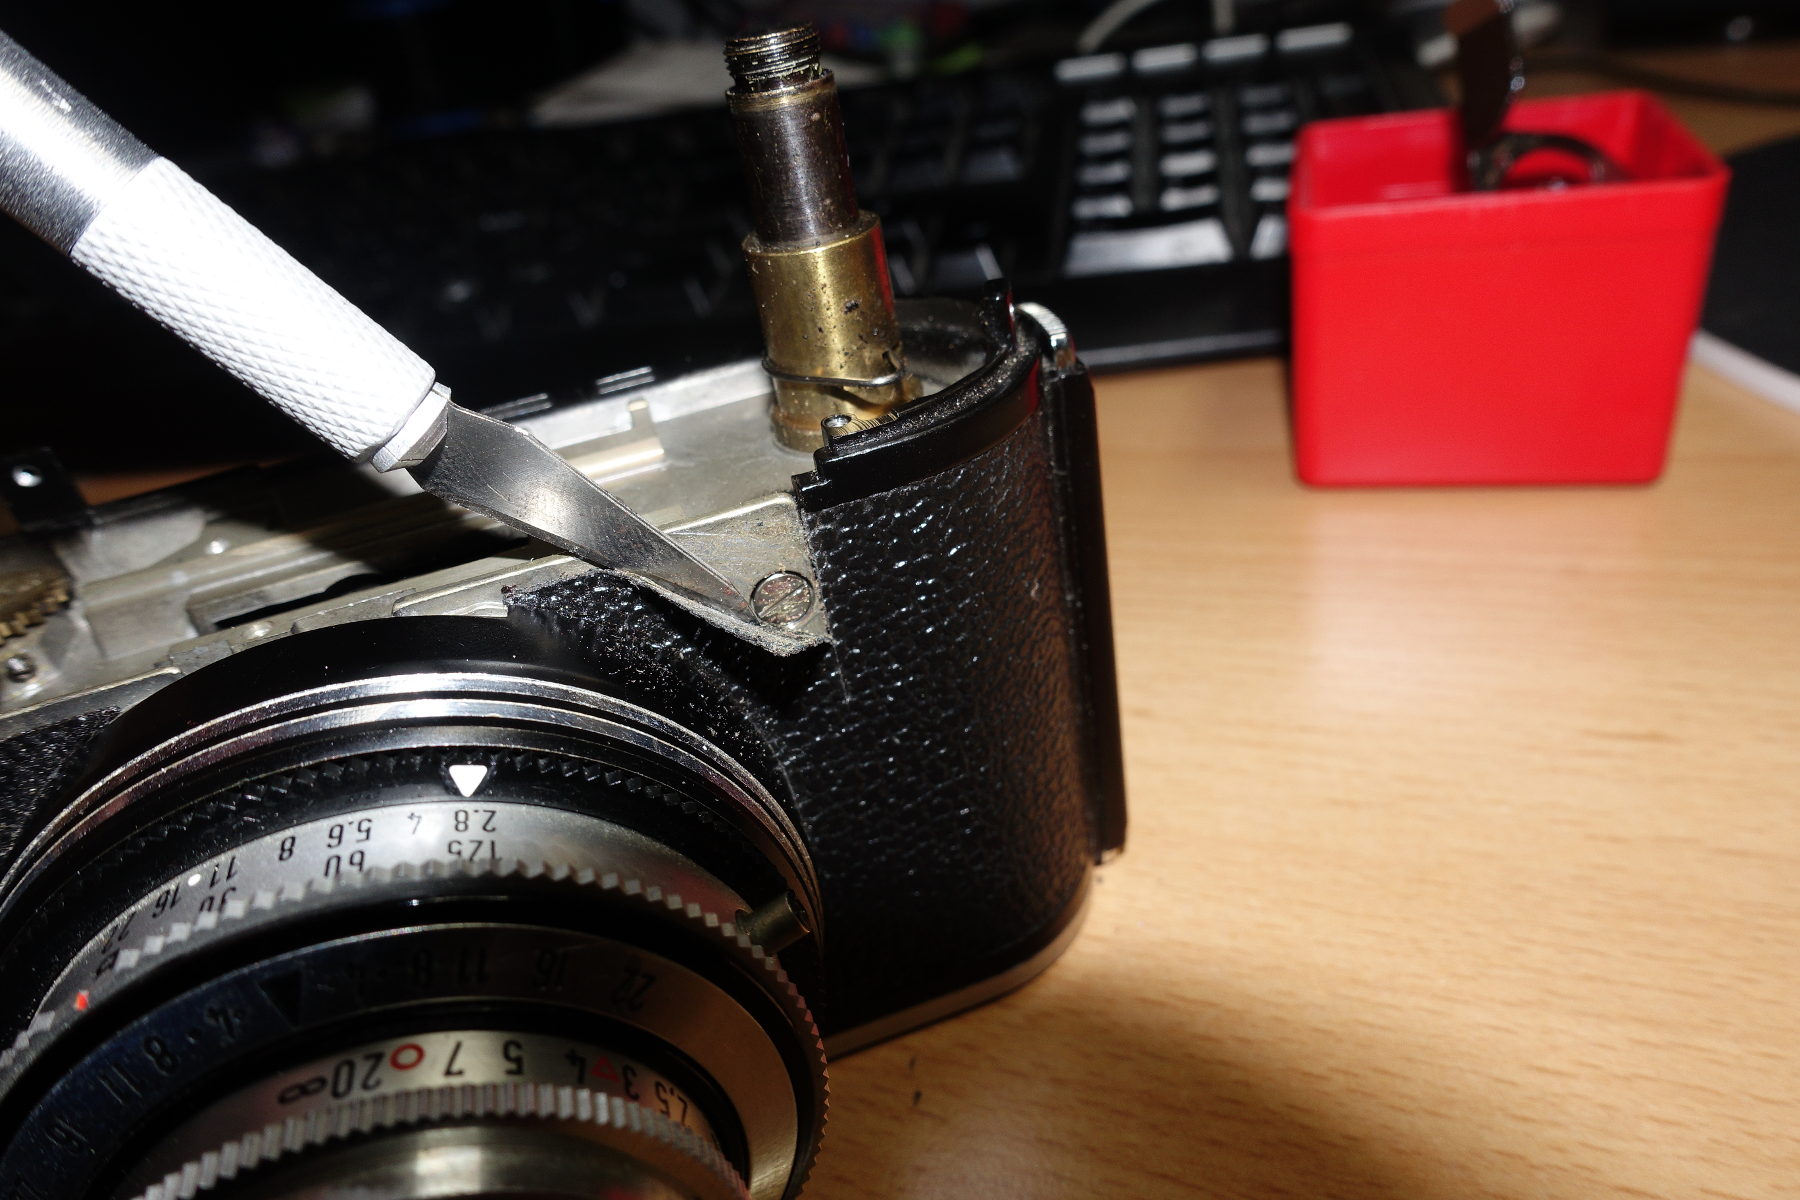
I removed the screws and was able to get off the lens from the body. The lens itself was hold by a ring on the plate. I used pliers to hold the ring and twist it counter clock-wise.

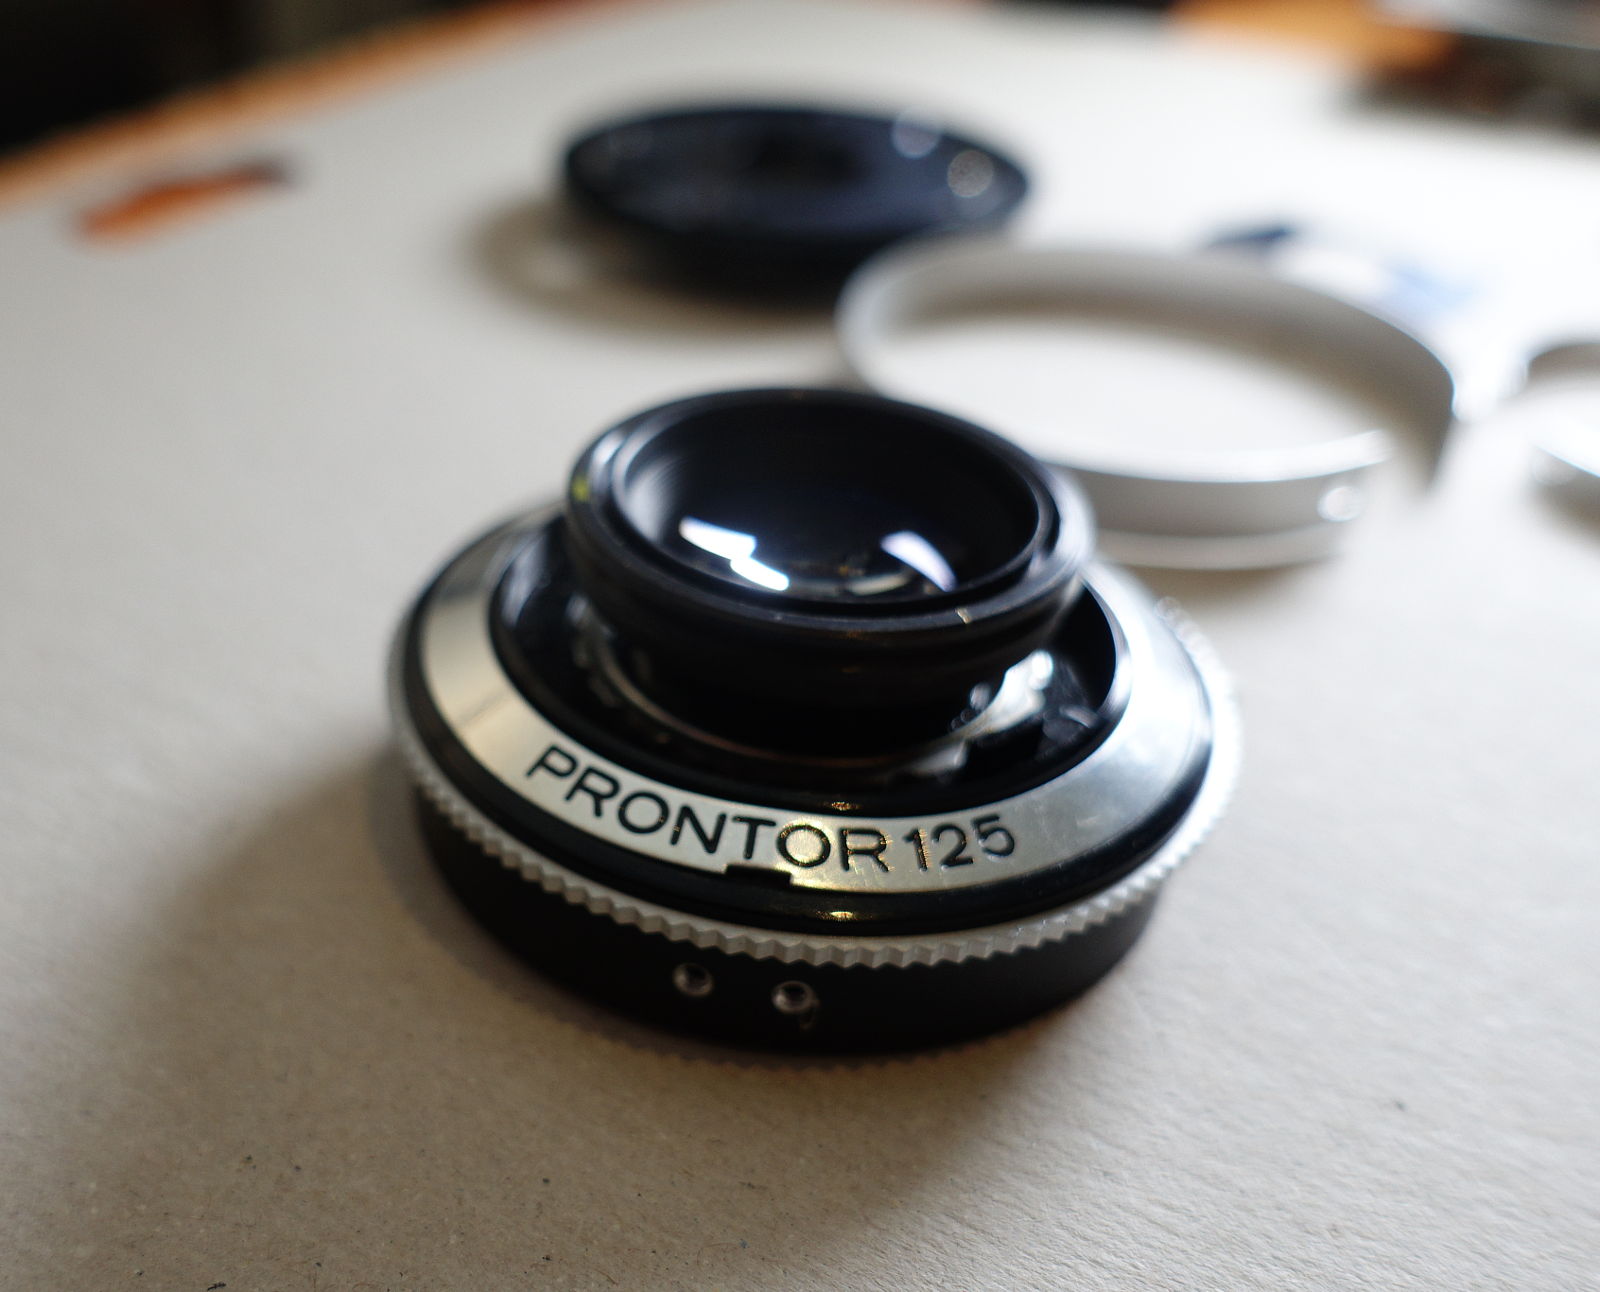
Now the lens was removed from everything. Now I had to remove the shutter blades inside the lens. Otherwise you cannot see anything ;). The biggest black ring on top is the aperture ring which also holds the rectangular shaped aperture blades. I had to remove it to get to the shutter.
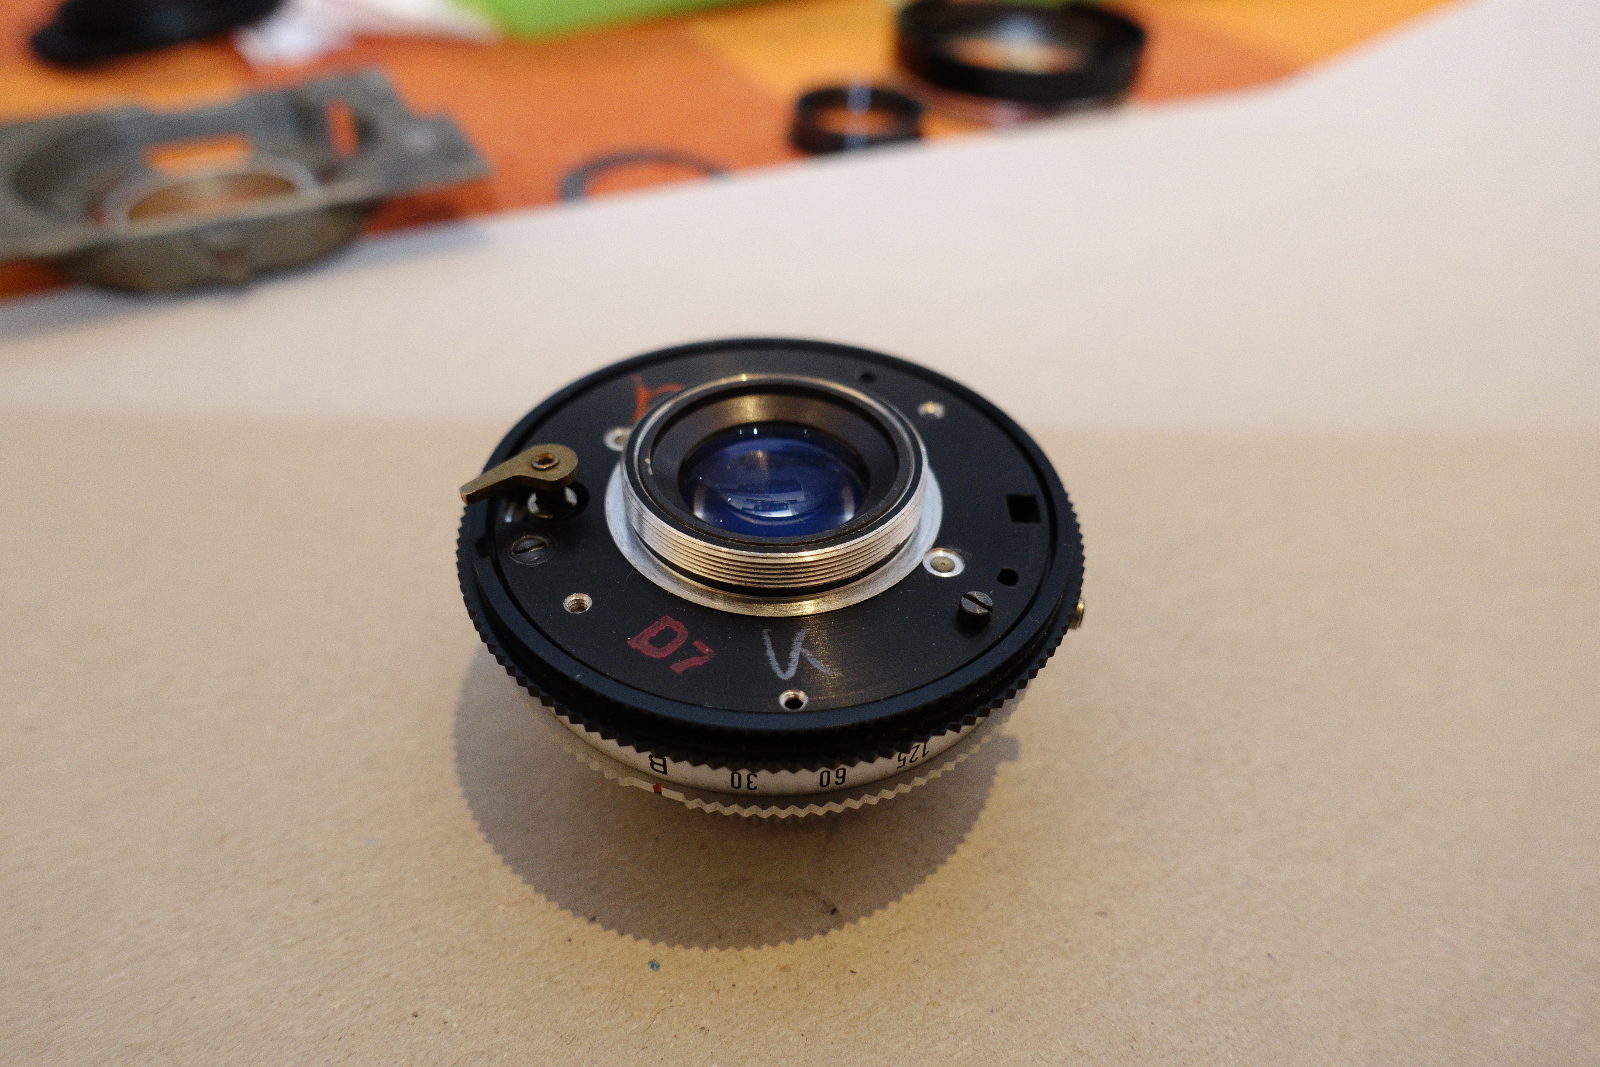
I removed the two shutter blades and also the little lever which is the trigger mechanism. This step was irreparable.
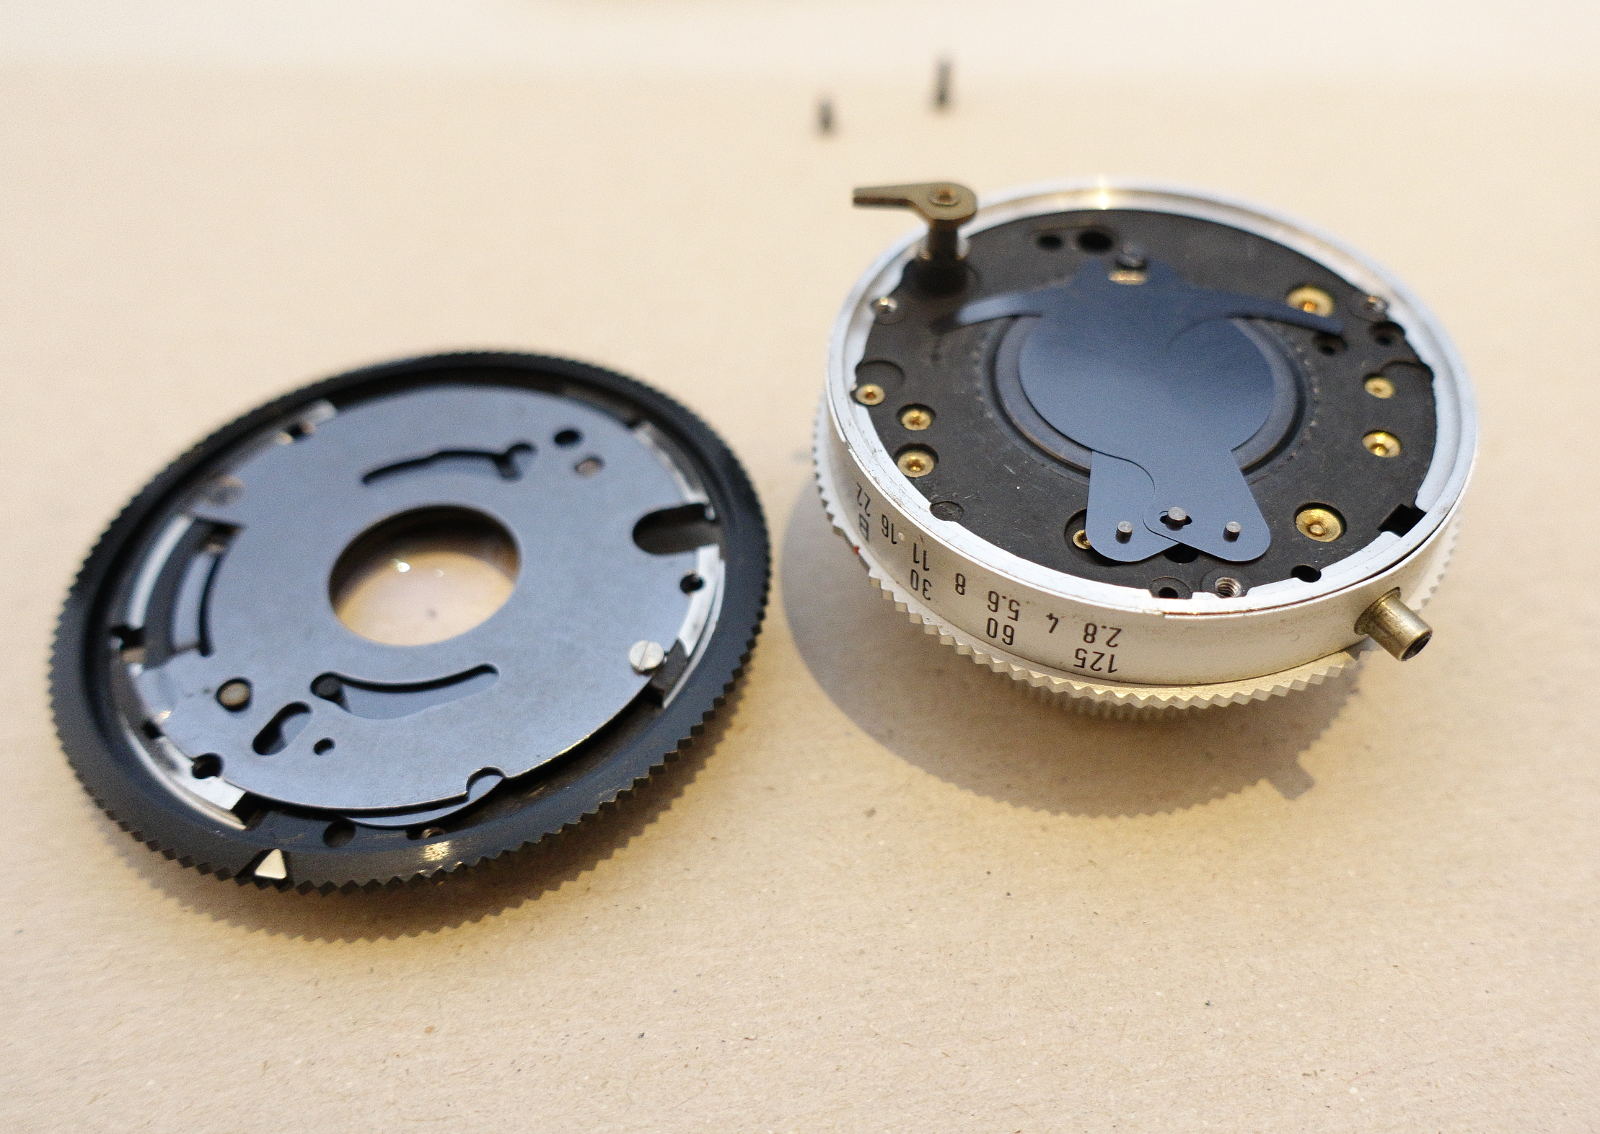
Before I assambled the lens back together, I wanted to clean the lenses. There are some silver rings around the lens which can be removed with a very fine screw driver. Then I was able to remove the front part of the lens and clean everything. I used some tips to clean the lenses itself. At this time I didn’t know that I had to adjust the front lens again when I finished :(. So I reassambled it.
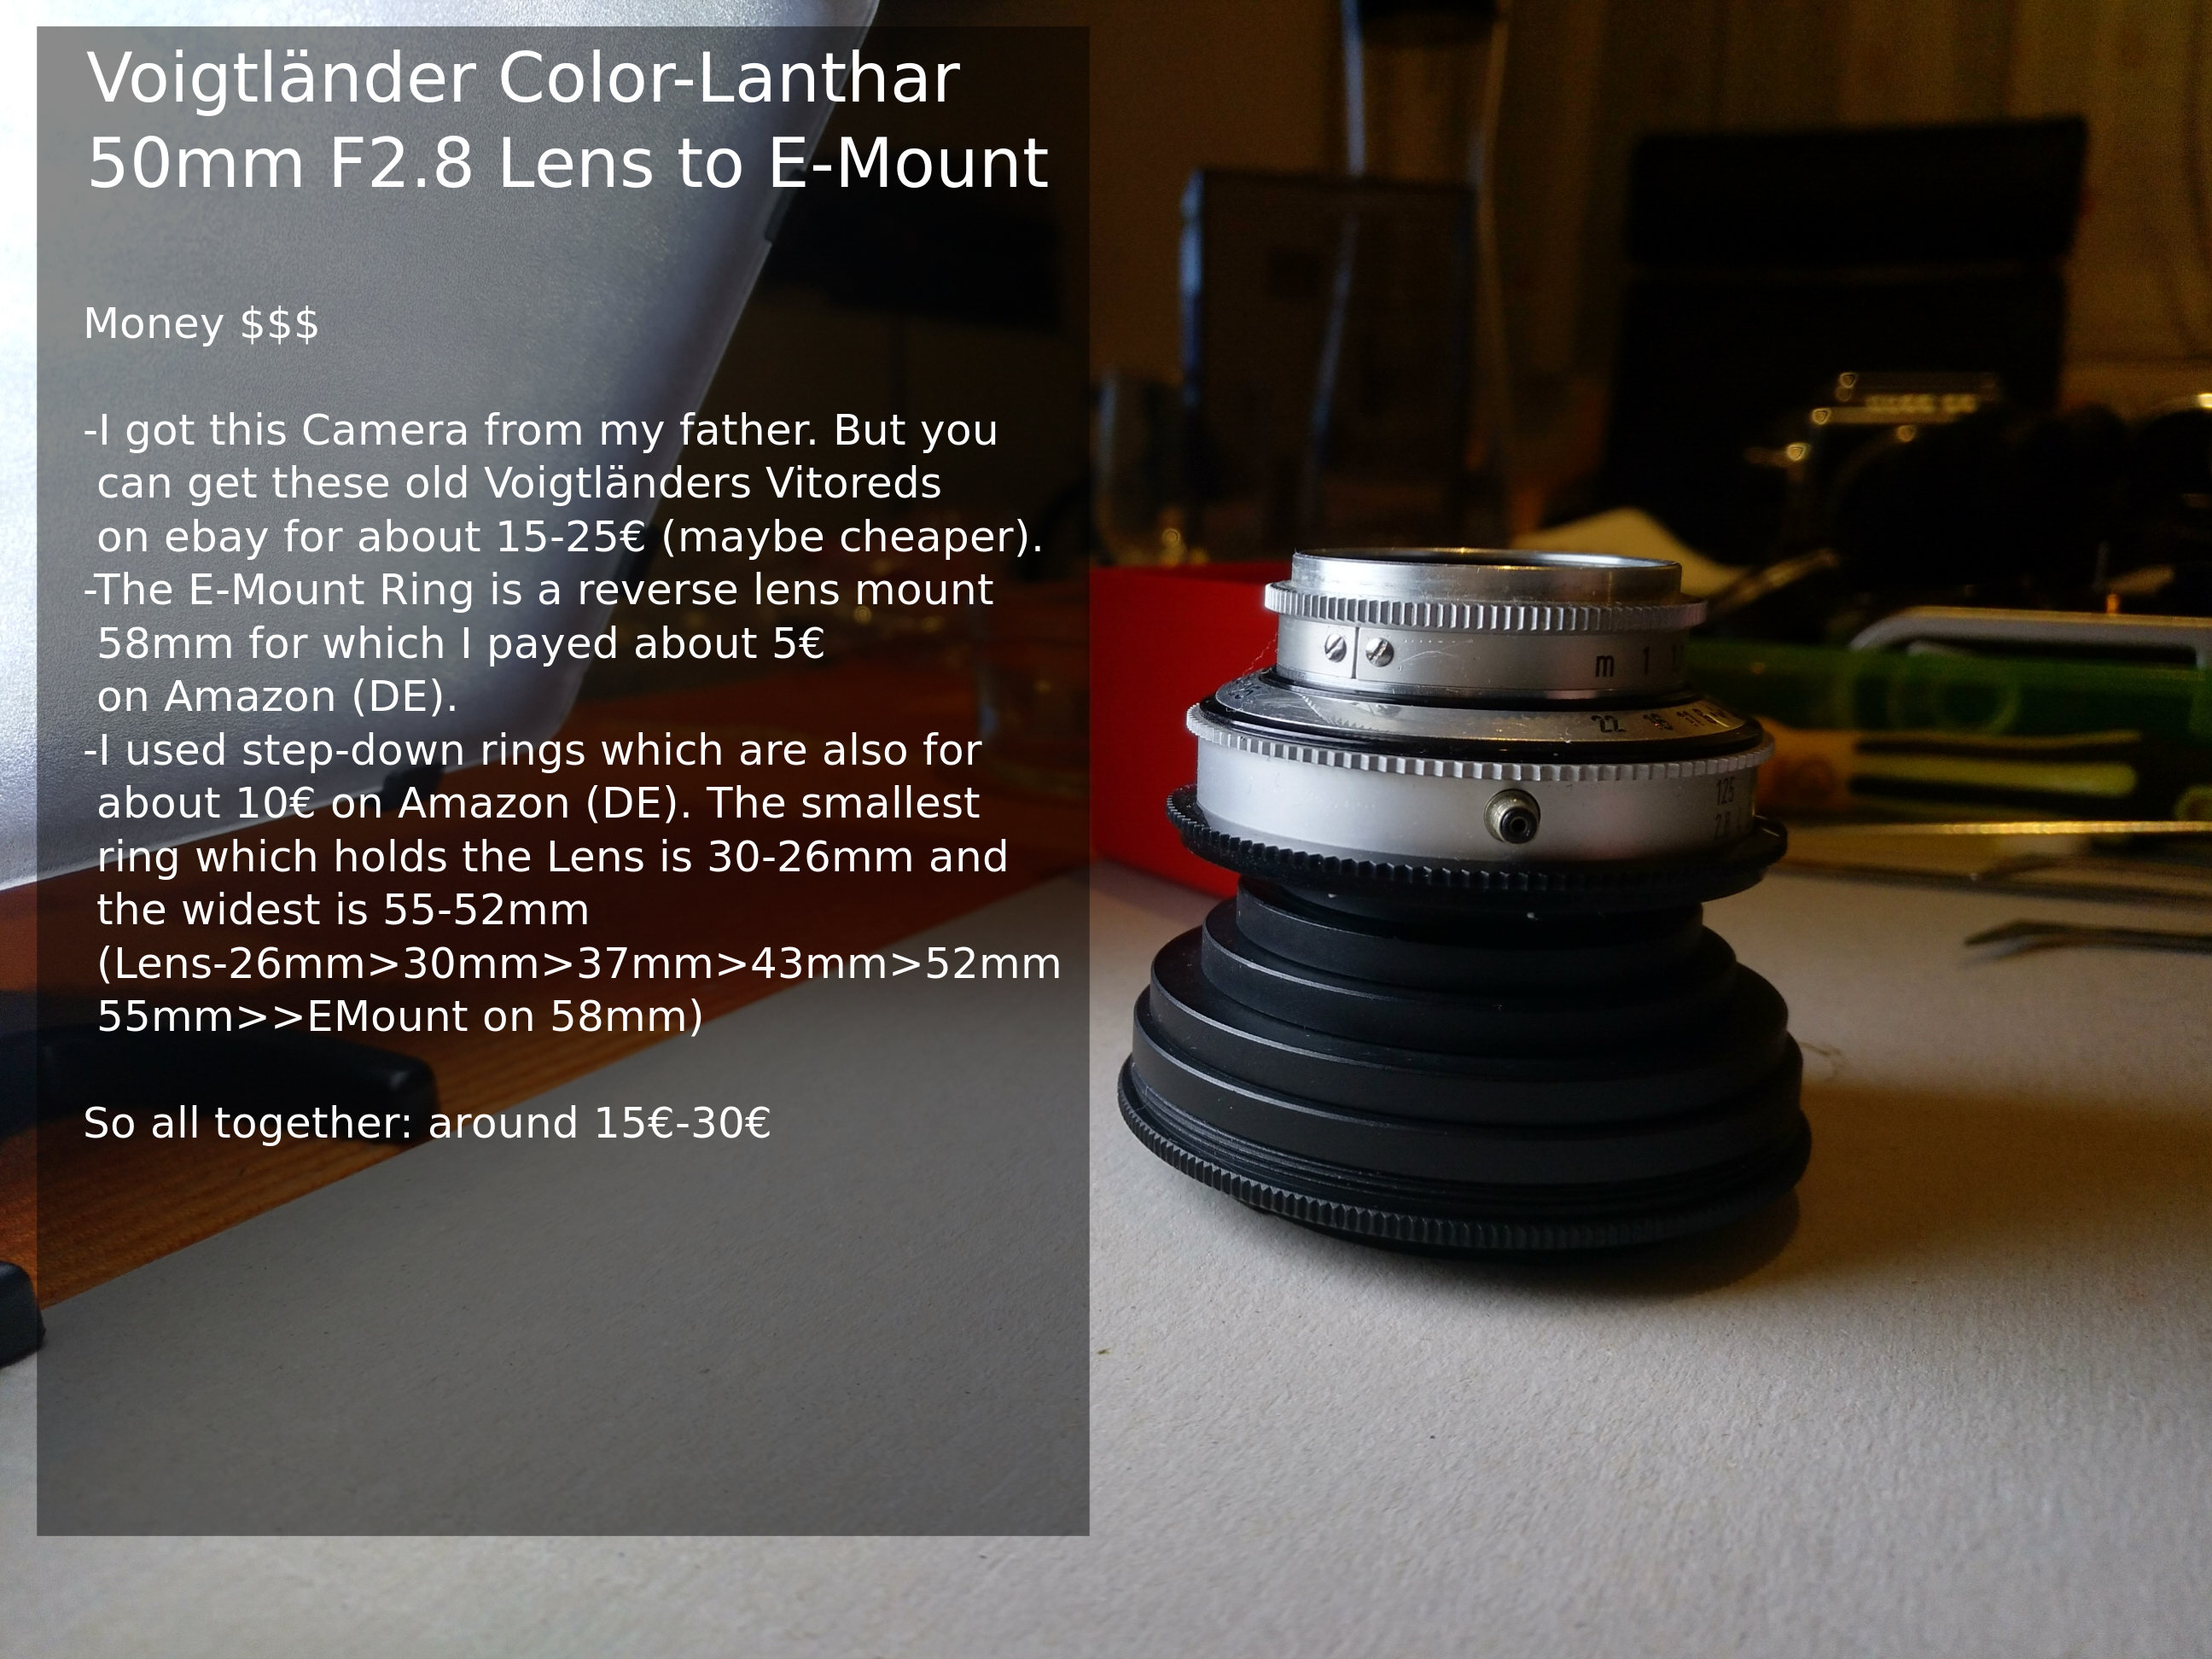
To get a e-mount on the lens I used some step-down rings which you can buy cheaply online. The smallest ring (26mm) was glued on the lenses wreath.
On the biggest step-down ring (55mm) I glued a “reverse lens mount” which on the one side has the e-mount and on the other a 58mm wreath.
I used the following adapter “sequence”:
lens -> 26mm -> 30mm -> 37mm -> 43mm -> 52mm -> 55mm -> 58mm with e-mount
Overview and Samples
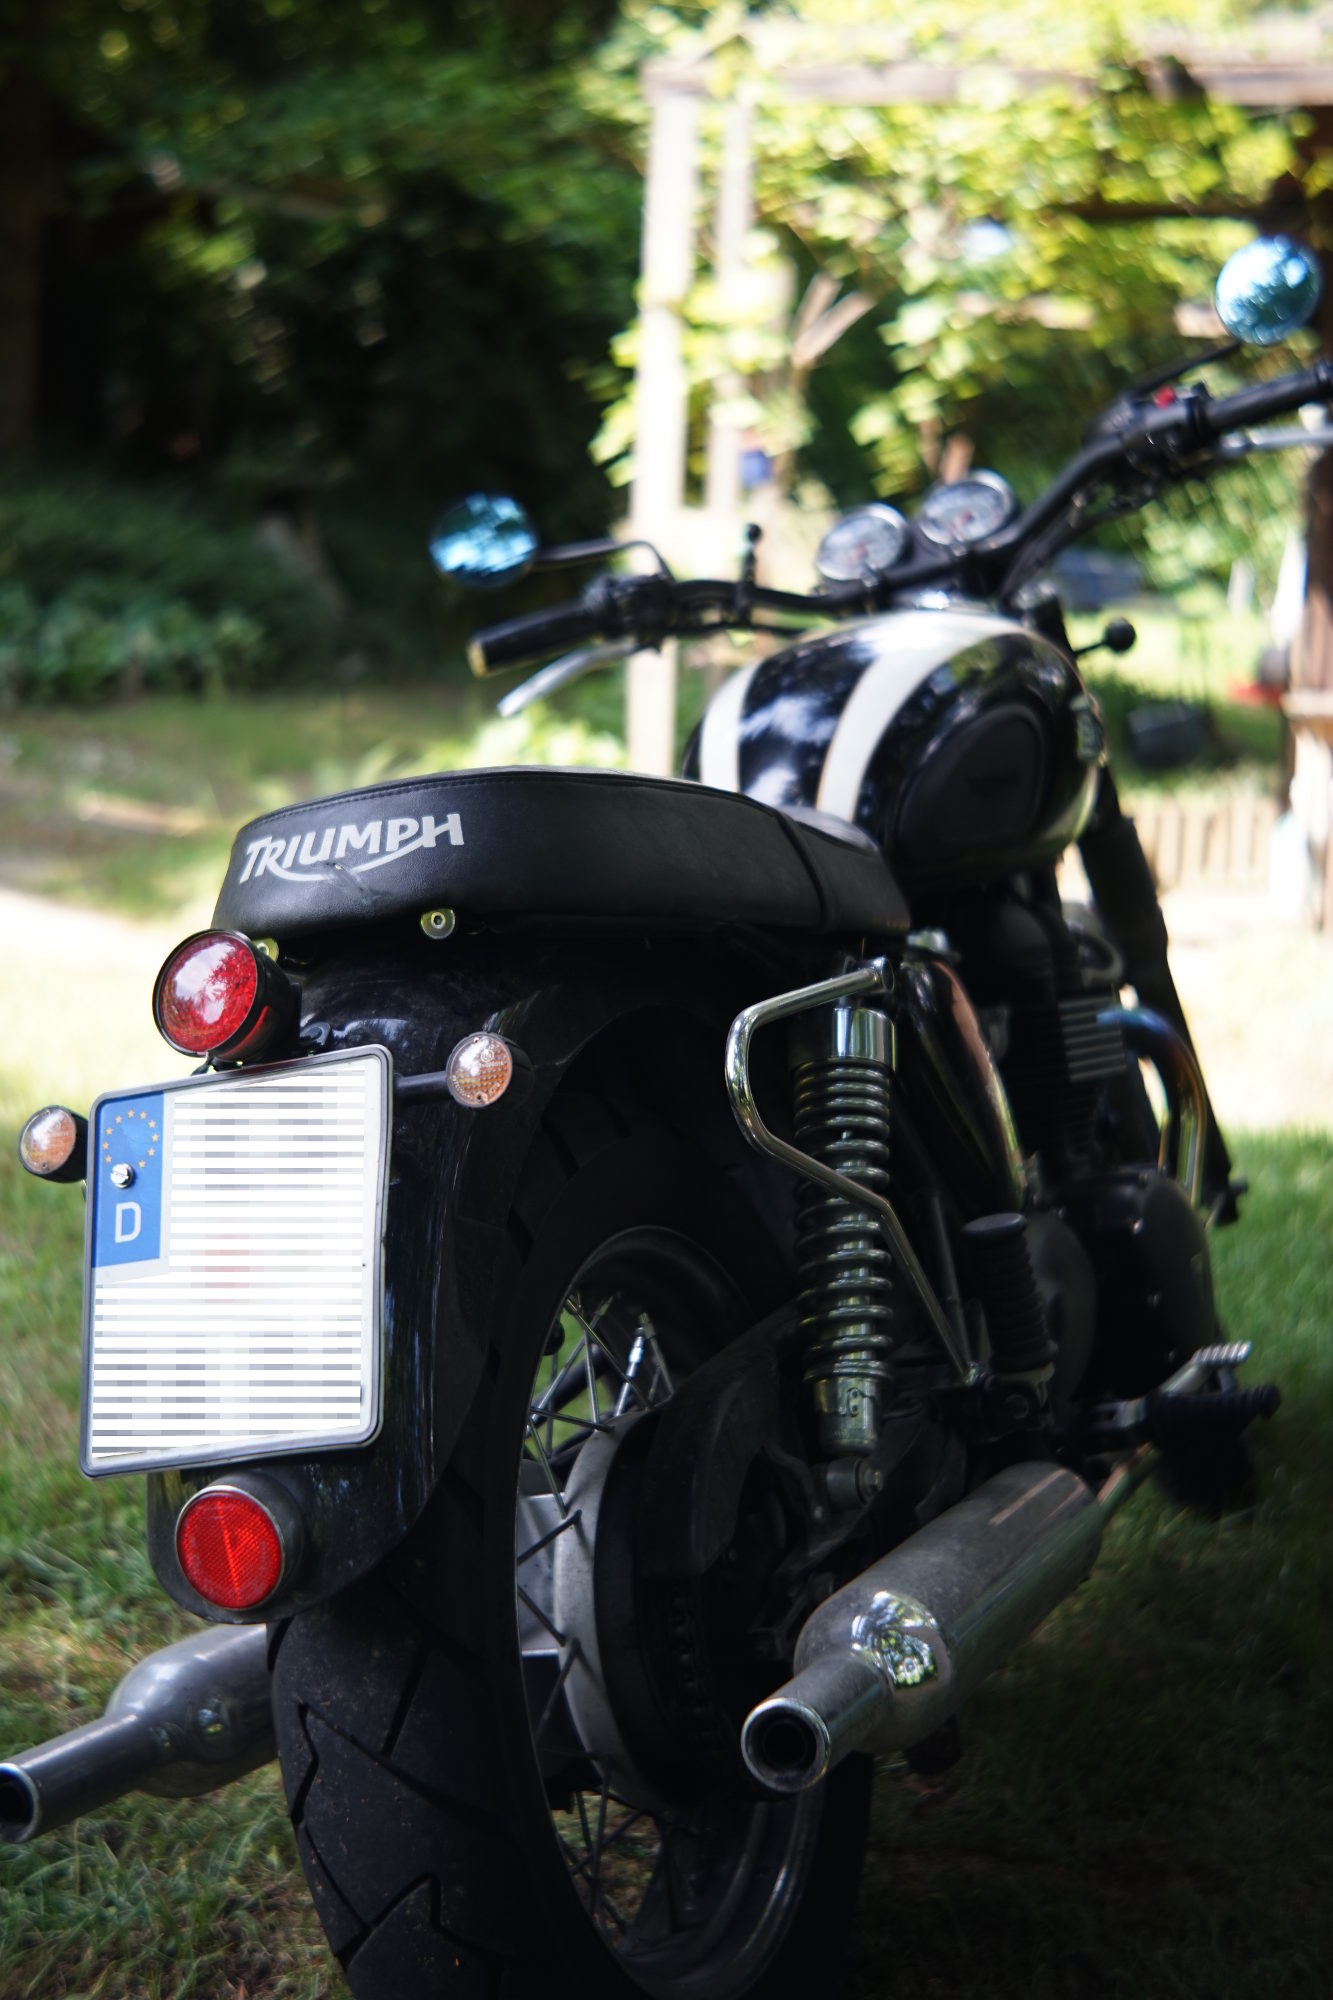
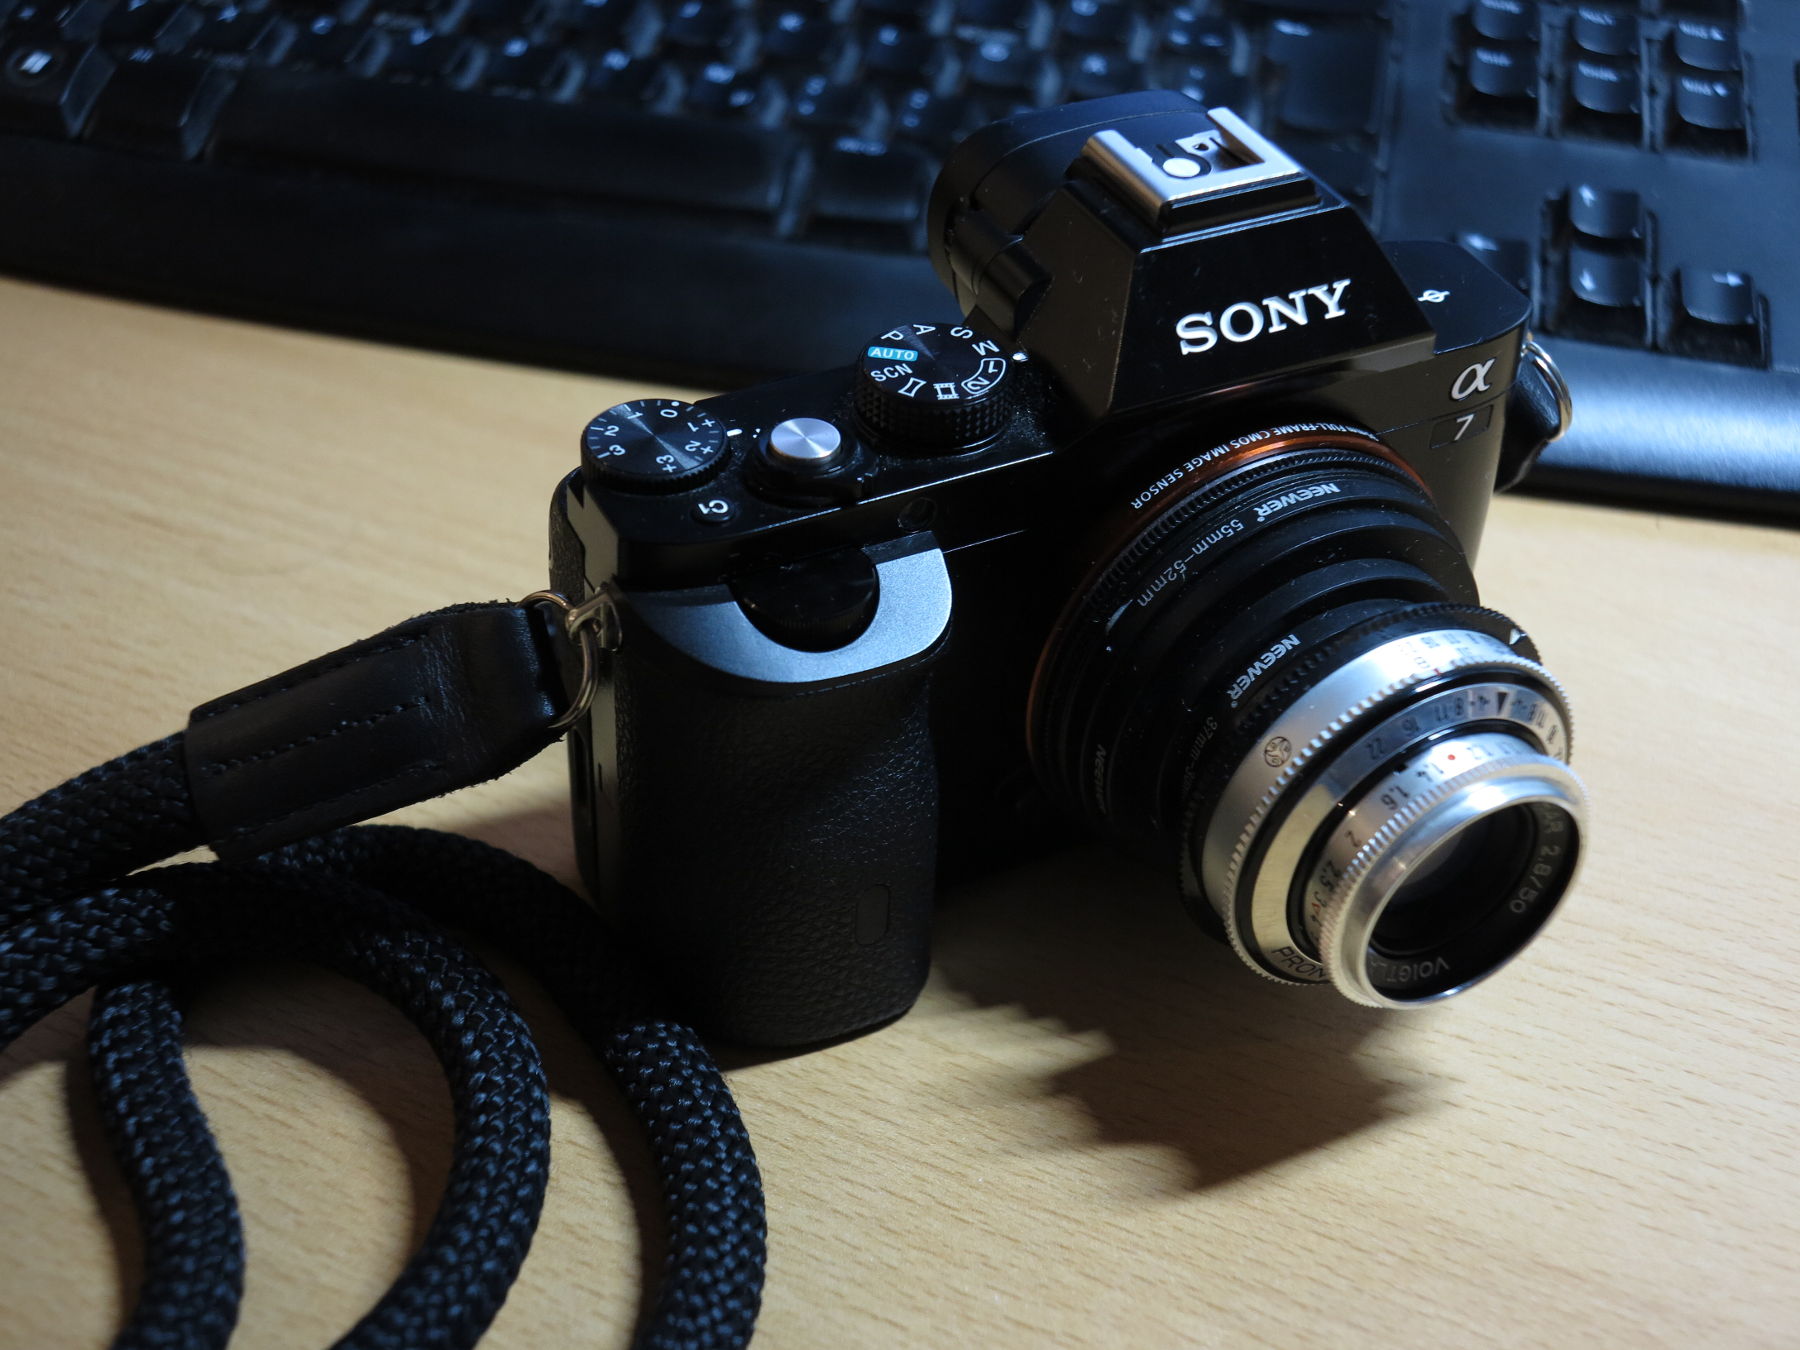
Mounted
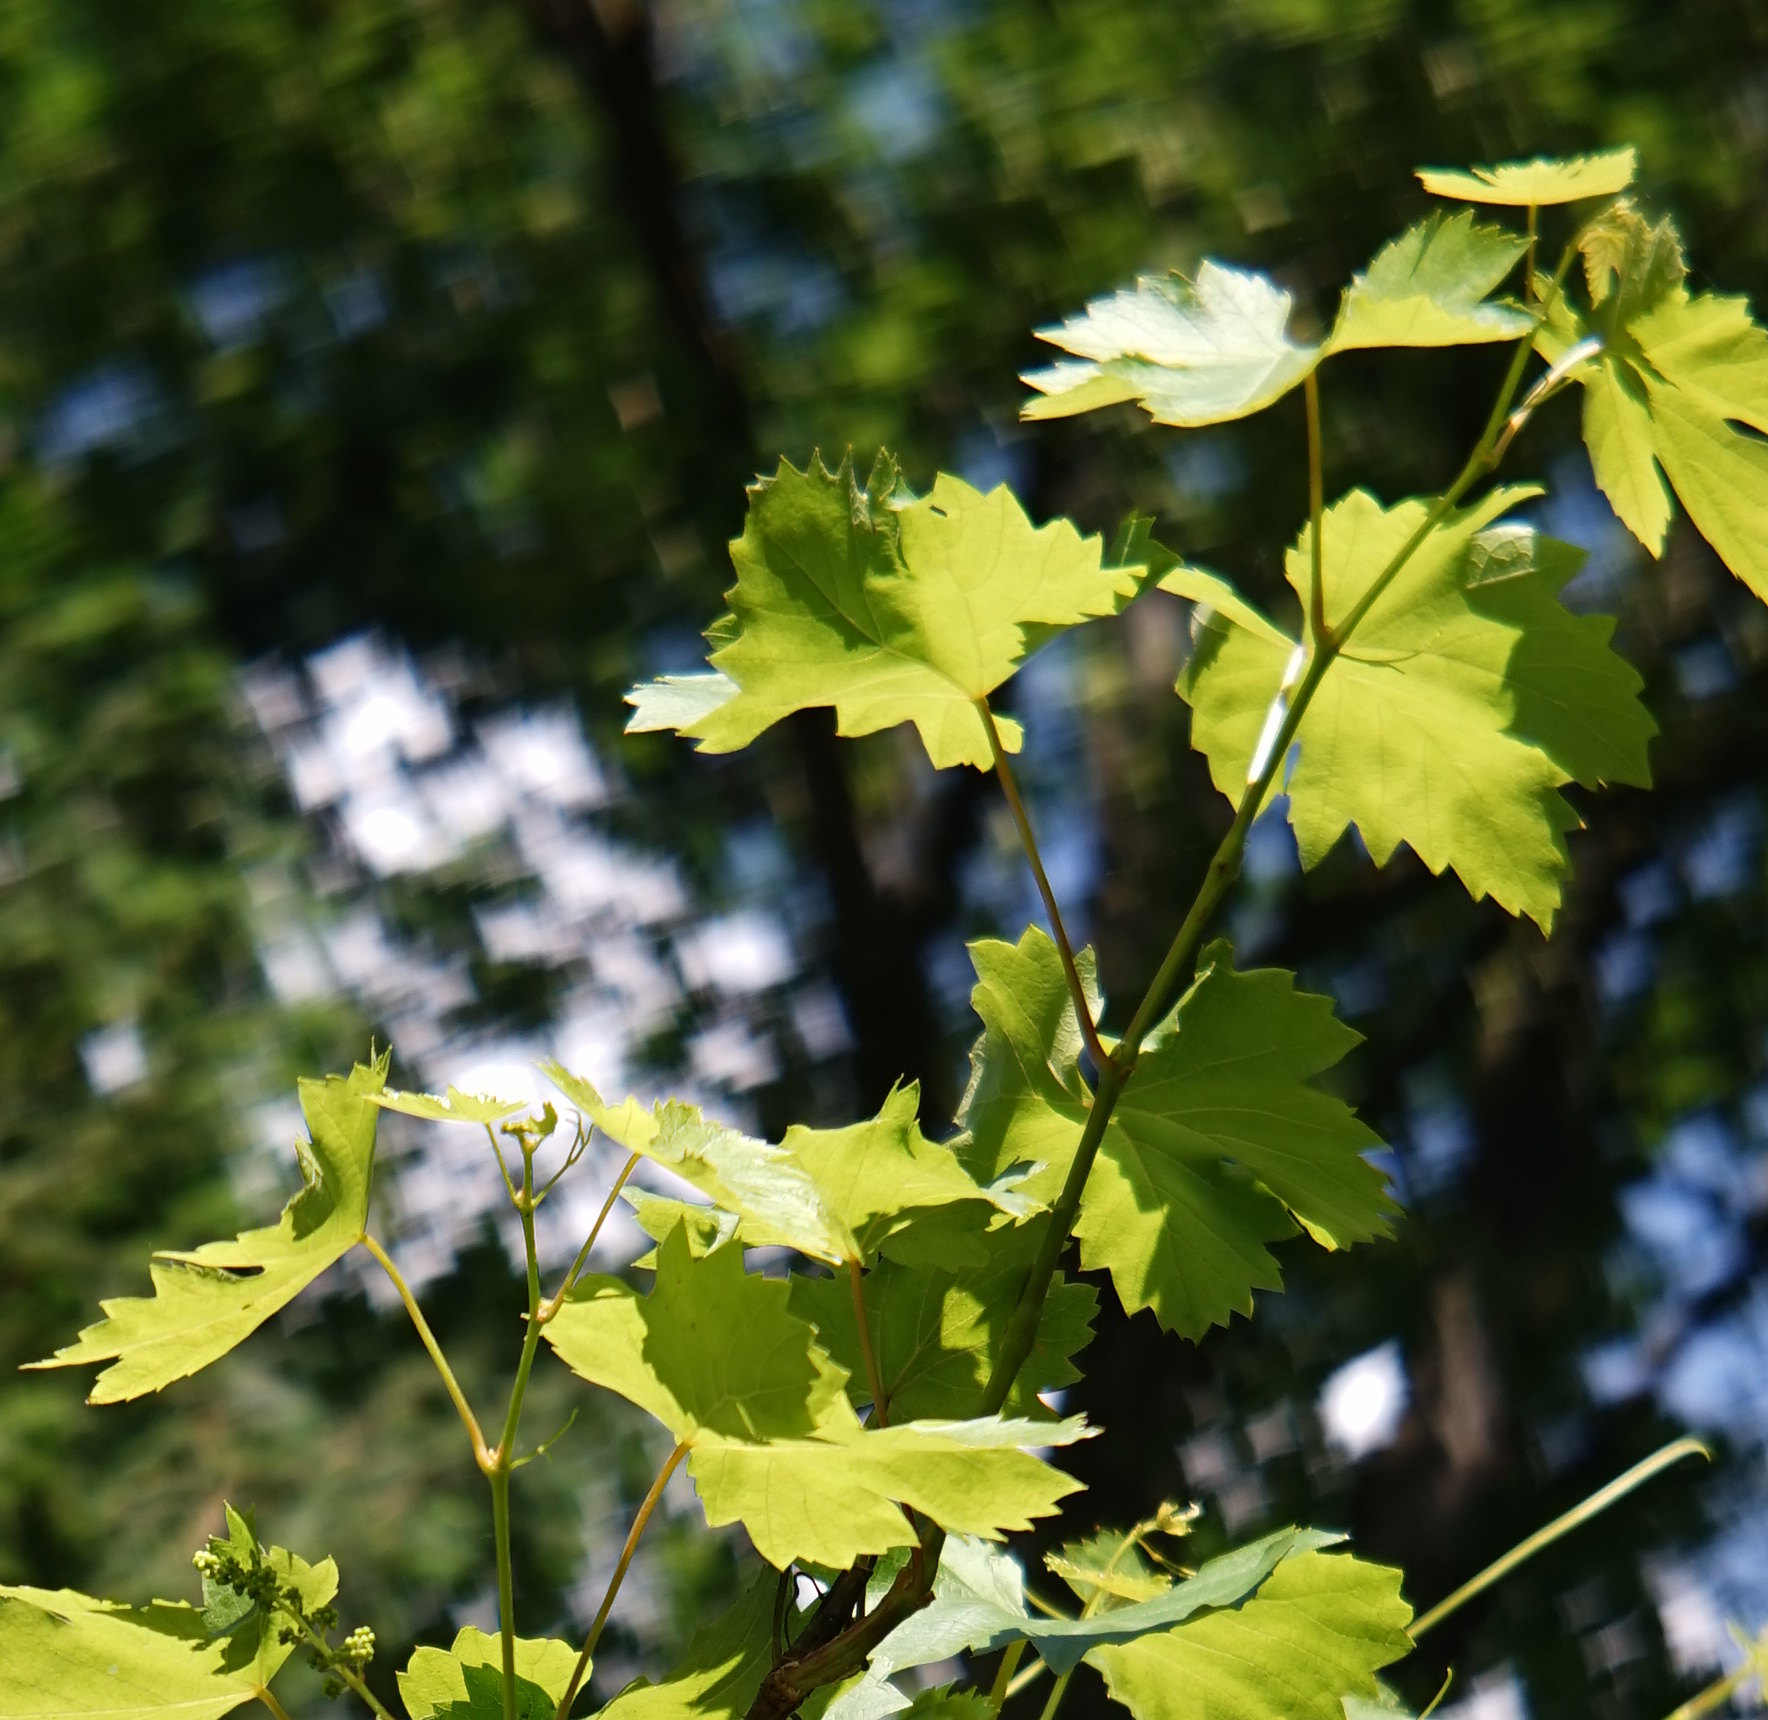
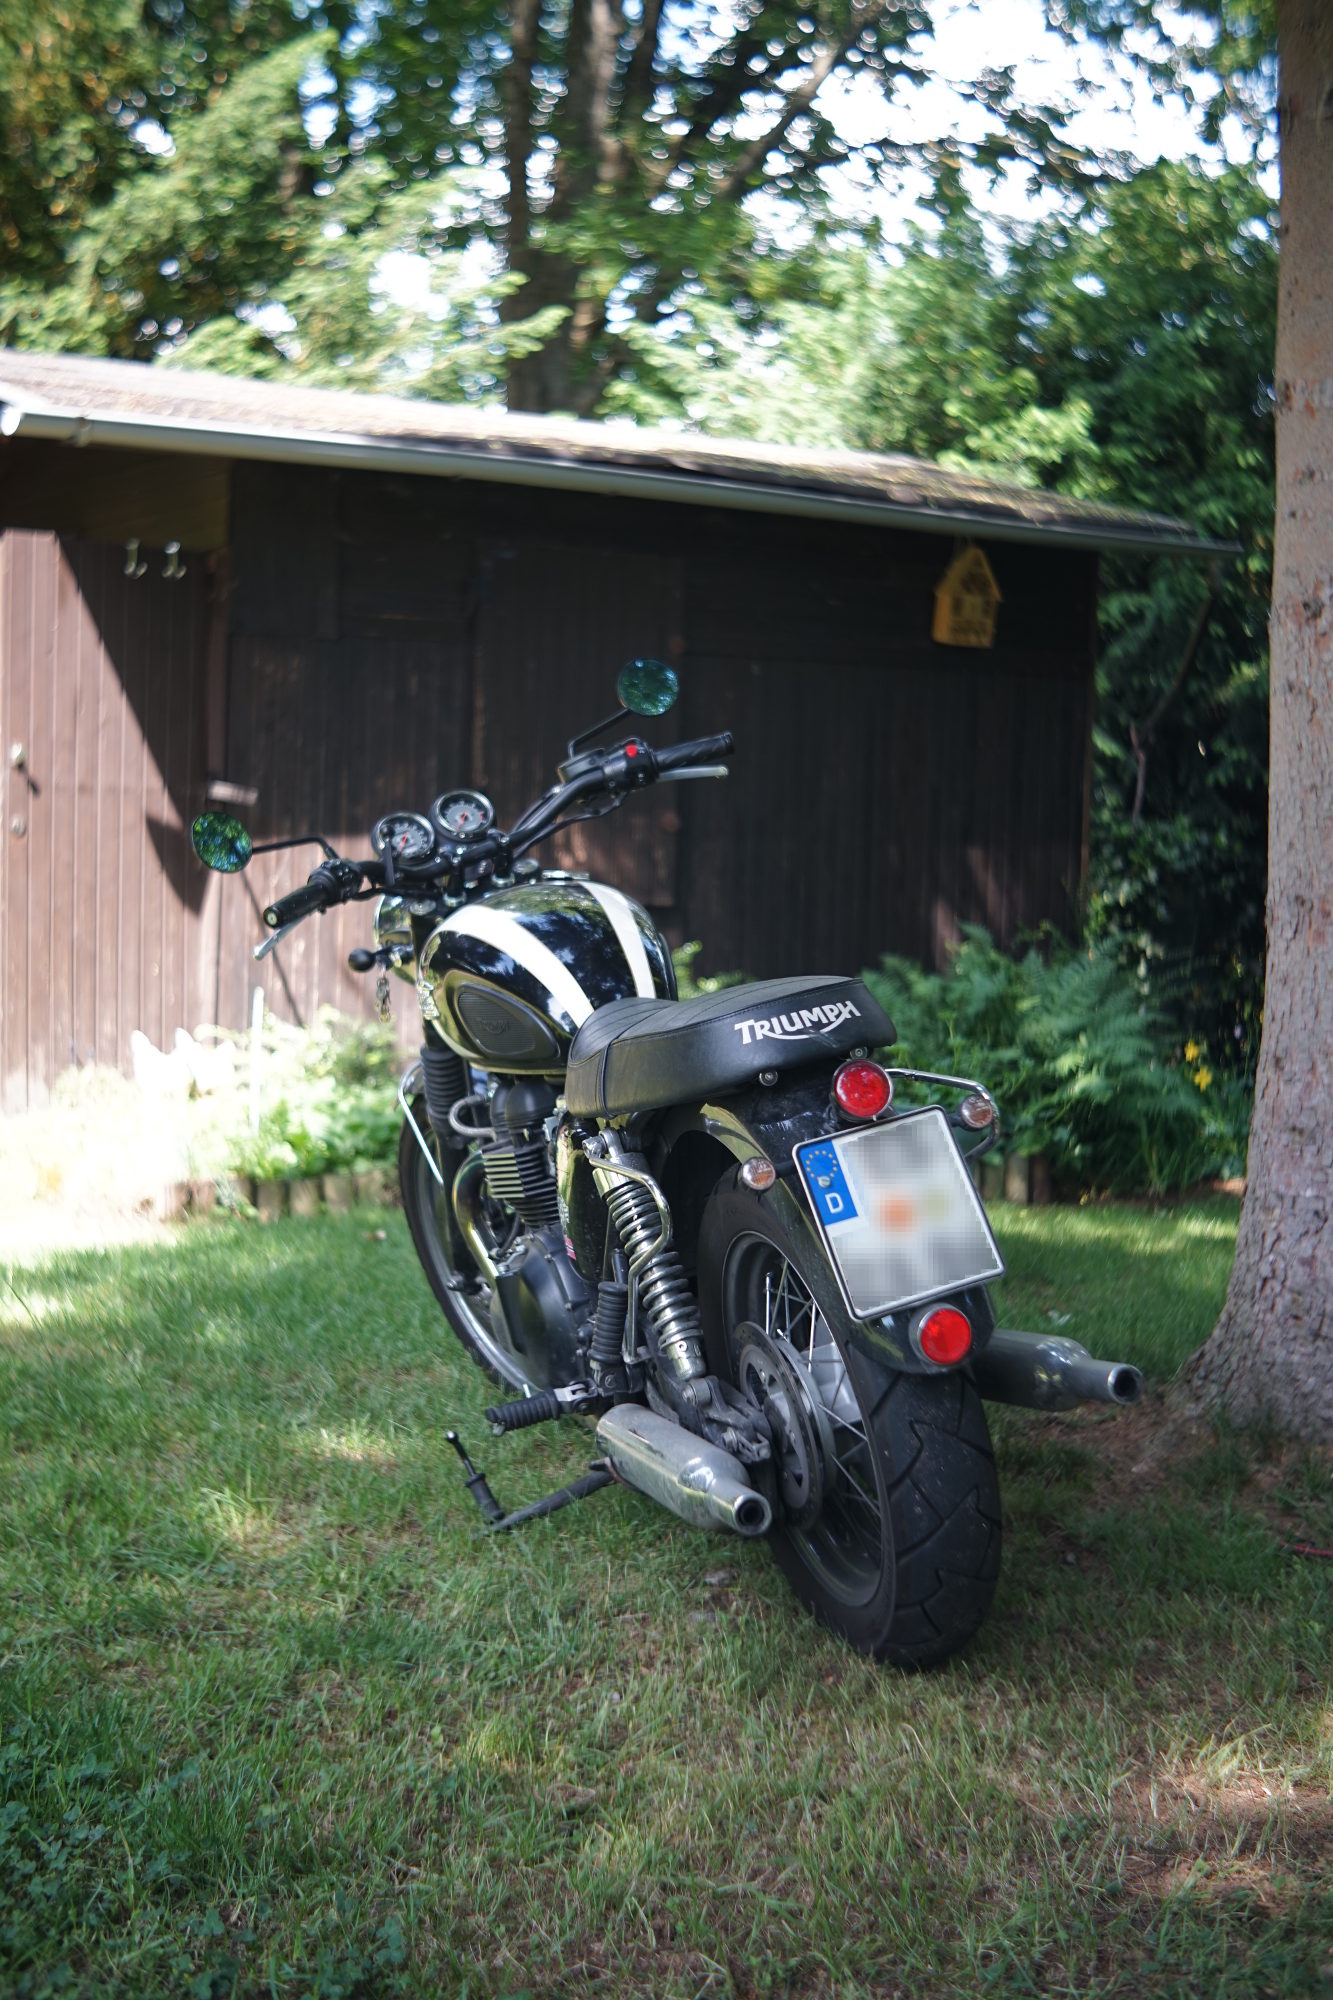
Samples
Crop in